 Parametric Robot Control
 gRPC via Javascript
From Scratch#
The following steps are only necessary if you want to build everything from scratch!
To work with gRPC in Javascript, you need to install the google-protobuf and the grpc-web package. This is best done via the package.json file, assuming that you use npm.
{
  "version": "1.0.0",
  "name": "parametric-robot-control",
  "private": true,
  "dependencies": {
    "google-protobuf": "~3.21.4",
    "grpc-web": "~1.5.0"
  },
  "devDependencies": {
    "terser-webpack-plugin": "^5.3.10",
    "webpack": "~5.94.0",
    "webpack-cli": "~5.1.4"
  }
}
Create a webpack configuration as below.
const TerserPlugin = require("terser-webpack-plugin");
const path = require('path');

module.exports = {
    mode: "production",
    entry: "./export.js",
    devtool: "source-map",
    optimization: {
      minimize: false,
      minimizer: [
          new TerserPlugin({
              terserOptions: {
                  keep_classnames: true,
                  keep_fnames: true
              }
            })
          ]
    },
    output: {
      path: path.resolve(__dirname, 'dist'),
      filename: 'prc.js',
     globalObject: 'this',
     library: {
       name: 'prc',
       type: 'umd',
     },
    }
  };
Then you can automatically generate Javascript code with that command:
protoc -I=. prc.proto \
  --js_out=import_style=commonjs,binary:. \
  --grpc-web_out=import_style=commonjs,mode=grpcwebtext:.
This gets you the following files:
prc_grpc_web_pb.js
prc_pb.js
The exports.js file exports the relevant classes.
You can also generate Typescript files which will help with auto-completion, see here
Use the following commands to install the packages and create the prc.js file in the dist directory via webpack.
npm install
npx webpack
If you want to test it on a web server, you could run the following command
npx http-serverIntegration#
Here you should either have the prc.js file from the steps above or simply from the download section. Create a new file and call it run_prc.js. Place it in the root directory.
We define a simple HTML page that references the libraries.
<!DOCTYPE html>
<html lang="en">
<head>
<meta charset="UTF-8">
<title>Parametric Robot Control via GRPC-Web</title>
<script src="./dist/prc.js"></script>
<script src="./run_prc.js" type="module"></script>
</head>
<body>
  <p>Simulation feedback:</p>
  <div id="feedback-text"></div>
</body>
</html>
In the run_prc.js file we first set up the client.
var server = 'https://localhost:5001';

var client = new prc.ParametricRobotControlServicePromiseClient(server, null, null);
Ping the PRC Server and choose a unique ID for your robot
var pingRequest = new prc.Ping()
    .setPayload('Hello');
var response = await client.sendPing(pingRequest, {});
var robotID = 'PRC JS Client';
You can then setup your robotic system. The robot driver class and preset robot class reference existing drivers/robots in PRC.
var setupRobotRequest = new prc.SetupRobotRequest()
    .setClientId(robotID)
    .setSoftwareVersion('0.1')
    .setRobotSetup(new prc.Robot()
        .setFriendlyId('KUKA KR10')
        .setRobotDriverClass('KUKA.KSS_KRL_Driver')
        .setPresetRobotClass('KUKA.KUKA_KR610R11002')
        .setInitialBase(new prc.Base()
            .setBaseFrame(new prc.CartesianPosition()
                .setCs(new prc.CoordinateSystem()
                    .setOrigin(new prc.Vector3()
                        .setX(0)
                        .setY(0)
                        .setZ(0)
                    )
                    .setXAxis(new prc.Vector3()
                        .setX(1)
                        .setY(0)
                        .setZ(0)
                    )
                    .setYAxis(new prc.Vector3()
                        .setX(0)
                        .setY(1)
                        .setZ(0)
                    )
                )
            )
        )
    );

setupRobotRequest.getRobotSetup().getToolDictionaryMap()
    .set('0', new prc.Tool()
        .setToolId('0')
        .setToolType(prc.FrameType.FIXED)
        .setTcp(new prc.CartesianPosition()
            .setCs(new prc.CoordinateSystem()
                .setOrigin(new prc.Vector3()
                    .setX(0)
                    .setY(0)
                    .setZ(0))
                .setXAxis(new prc.Vector3()
                    .setX(1)
                    .setY(0)
                    .setZ(0))
                .setYAxis(new prc.Vector3()
                    .setX(0)
                    .setY(1)
                    .setZ(0))
            )
        )
    );

var setupRobotReply = new prc.SetupRobotReply();
setupRobotReply = await client.setupRobot(setupRobotRequest, {});
In order to get feedback, we establish the feedback stream.
var stream = client.subscribeRobotFeedback(new prc.SubscribeRobotFeedbackRequest().setId(robotID), {});
stream.on('data', function(response) {
    console.log(response.getStatus());
});
stream.on('status', function(status) {
    console.log(status.code);
    console.log(status.details);
    console.log(status.metadata);
});
stream.on('end', function(end) {});
Now define your movements and group them in MotionGroup objects.
var ptpMotion1 = new prc.MotionCommand()
    .setAxisMotion(new prc.AxisMotion()
        .setTarget(new prc.JointTarget()
            .setAxisValuesList([-45, -90, 90, 0, 0, 0])
            .setSpeedList([0.1])
        ));

var ptpMotion2 = new prc.MotionCommand()
    .setAxisMotion(new prc.AxisMotion()
        .setTarget(new prc.JointTarget()
            .setAxisValuesList([45, -90, 90, 0, 0, 0])
            .setSpeedList([0.1])
        ));

var ptpMotionGroup = new prc.MotionGroup()
    .setCommandsList([ptpMotion1, ptpMotion2])
    .setInterpolation('C_PTP')
    .setMotionGroupType(prc.MotionGroupType.PTP);
Next, put the motion groups into a task. You get the default RobotSettings from the initial setupRobot call. As they are a dictionary, you can edit them easily.
var addTask = new prc.AddRobotTaskRequest()
    .setId(robotID)
    .setRobotTask(new prc.Task()
        .setName('Task')
        .setType(prc.TaskType.SIMULATE_AND_EXECUTE_TASK)
        .setPayloadList([new prc.TaskPayload()
            .setMotionGroupTask(ptpMotionGroup)
        ])
    )
    .setRobotSettings(setupRobotReply.getRobotSettings());

var addTaskReply = await client.addRobotTask(addTask, {})
You can go through the simulation through the GetStimulatedRobotState call. In the example below, it iterates by 4% every 400ms.
var i = 0;
while (i < 100) {
    i += 4;
    var robotState = new prc.GetSimulatedRobotStateRequest()
        .setAsyncStreamUpdate(false)
        .setId(robotID)
        .setNormalizedState(i / 100.0);

    var robotStateResponse = await client.getSimulatedRobotState(robotState, {});
    await new Promise(r => setTimeout(r, 400));
}
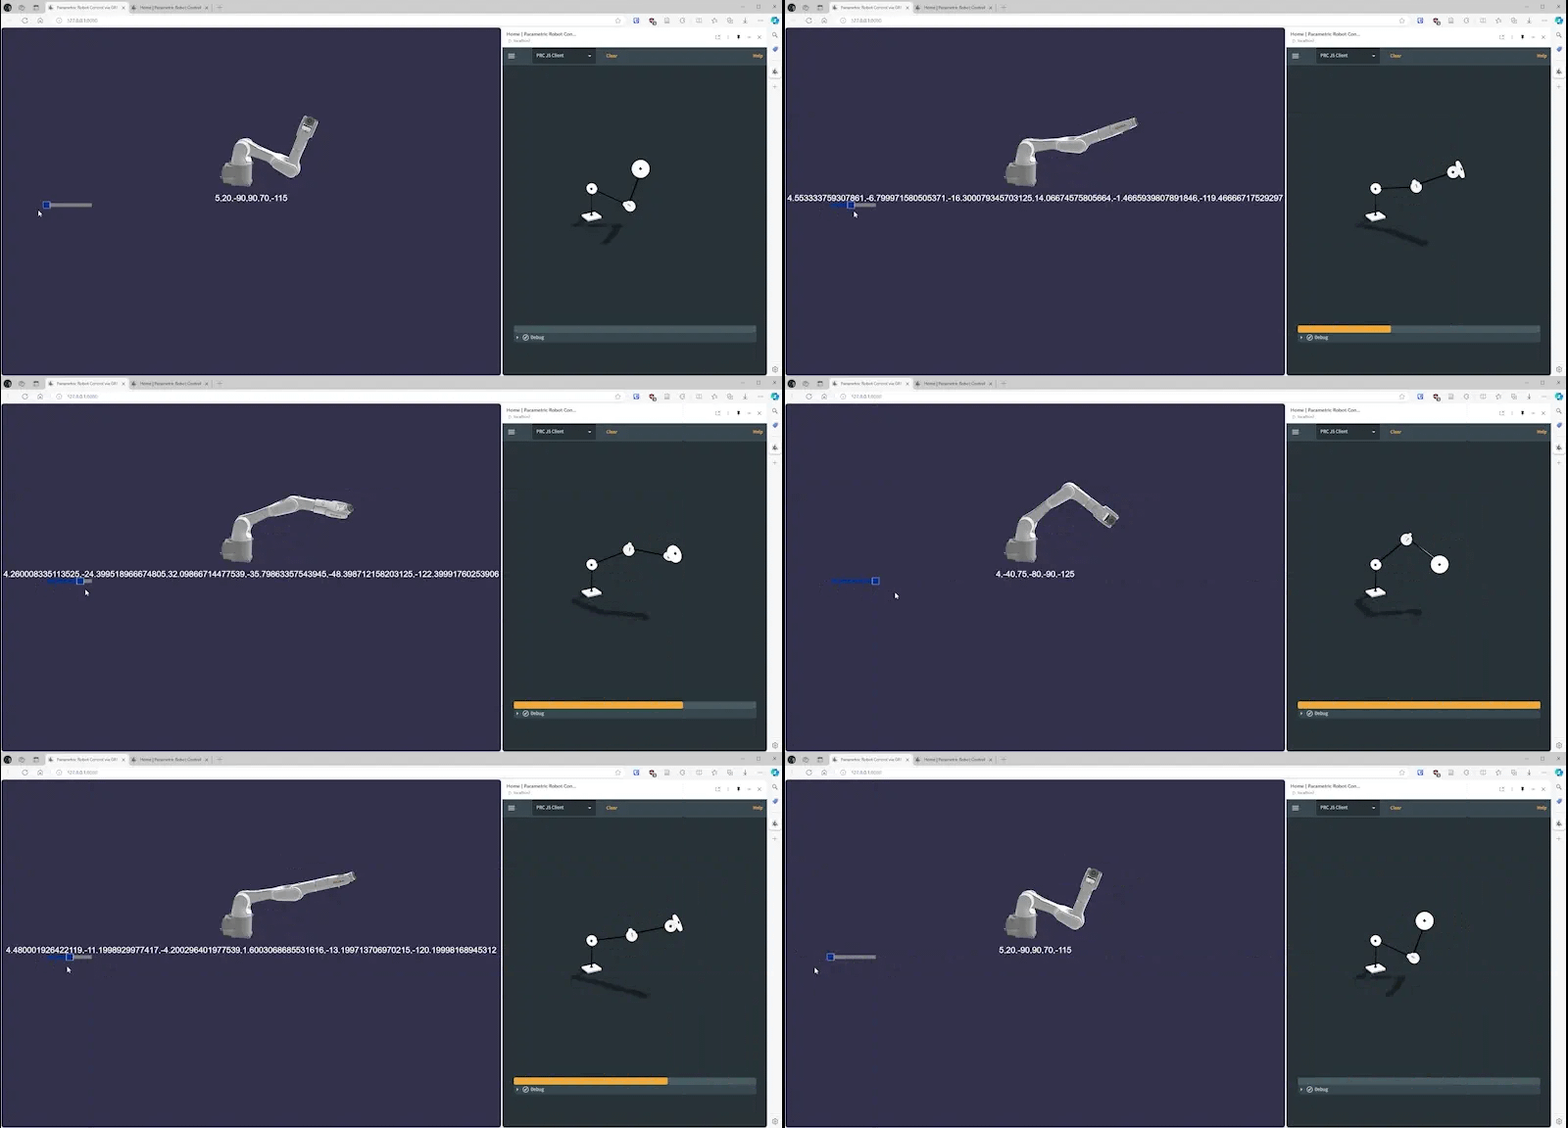
The full code is available in the GitHub repository. The example is expanded with a 3D view that uses the BabylonJS library.
github.com PRC.Integrations